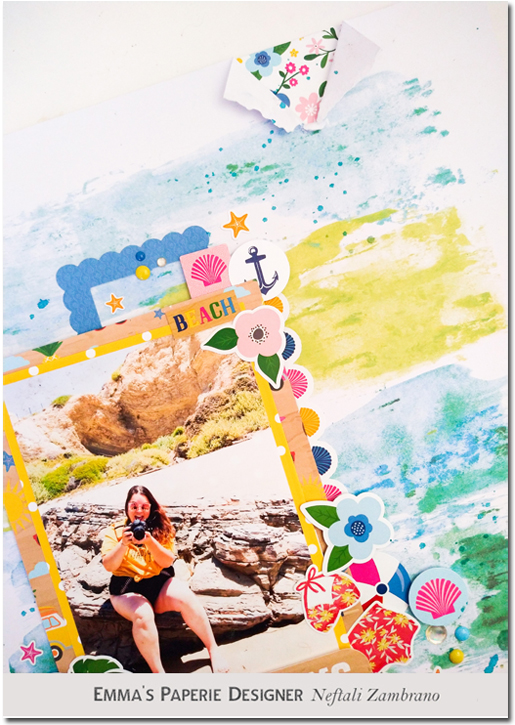
Summer Days Layout by Neftali Zambrano
Supplies:
~
Being Creative Pages by Neftali Zambrano
Supplies:
Good, Good Times Layout by Neftali Zambrano
~
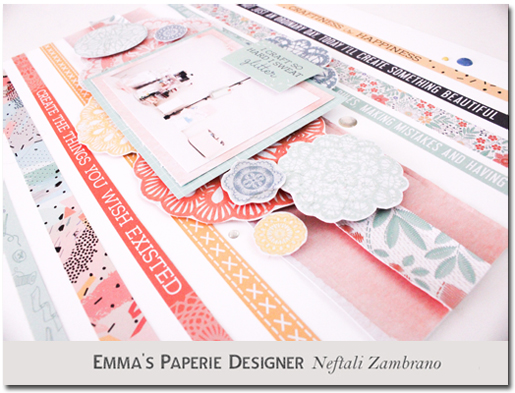
Craftiness Is Happiness Layout by Neftali Zambrano
~
Some Sunshine and Fresh Air Layout by Neftali Zambrano
Similar items:
Adventure Layout by Neftali Zambrano
Supplies:
~
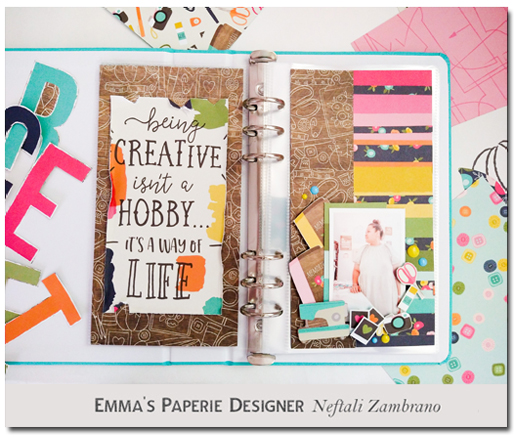
Flower Book by Neftali Zambrano
~